


https://chxtio.github.io/ocr_jekyll/
Table of Contents
Project Introduction
This instruction manual outlines the process of designing and building Sonar Viz Bot- a training project intended to introduce new OCR members to the engineering design process. It aims to quickly develop the core skills and competencies for rookies to meaningfully contribute to club projects and eventually compete in the University Rover Challenge (URC).

Timeline

1. Software Setup
The configuration of Git, GitHub, and SSH and the software environment setup is described. To streamline the development process, we have created a Docker container with Ubuntu 22.04, ROS2 Humble, and dependencies.
1.0 Join the Github Organizations
- Add your GitHub username to the discord thread
- You will be invited to the following
1.1 Recommended Directory Structure
~/ocr/
│
├── dev_ws/
│   ├── build/
│   ├── install/
│   ├── log/
│   └── src/
│       └── differential_drive_robot/
│
├── ocr-docker/
│   ├── Dockerfile
│   ├── README.md
│   └── docker-compose.yml
│
└── training_ws/
       └── src/
1.2 Setting Up Git, GitHub, and SSH
Install Git
Mac
- Install homebrew and follow the terminal instructions
/bin/bash -c "$(curl -fsSL https://raw.githubusercontent.com/Homebrew/install/HEAD/install.sh)"- Install git
brew install gitWindows
-
Install Git for Windows, which provides Git Bash (terminal emulator for running Git commands)
-
Or- install using Windows Powershell
winget install --id Git.Git -e --source winget- Note: if the above command didn’t work, you may need to install winget first
$progressPreference = 'silentlyContinue'
Write-Host "Installing WinGet PowerShell module from PSGallery..."
Install-PackageProvider -Name NuGet -Force | Out-Null
Install-Module -Name Microsoft.WinGet.Client -Force -Repository PSGallery | Out-Null
Write-Host "Using Repair-WinGetPackageManager cmdlet to bootstrap WinGet..."
Repair-WinGetPackageManager
Write-Host "Done."- You can also install Linux for Windows via WSL (Windows Subsystem for Linux)
- Once setup, Git can be installed using the Linux package manager
Ubuntu
- Install Git
sudo apt install gitConfigure Git
- Configure Git, replacing
"Your name"and"your.email@example.com"with your info (including the quotes) to link your local Git profile with GitHub
git config --global user.name "Your Name"
git config --global user.email "your.email@example.com"- Verify configuration
git config --get user.name
git config --get user.email
Set up SSH
- Create a new SSH key using your GitHub email as a label
Note: Press enter to skip through the 3 prompts that follow
ssh-keygen -t ed25519 -C "your.email@example.com"- Copy the public key to your GitHub account (See example)
cat ~/.ssh/id_ed25519.pub-
In GitHub, navigate to Settings → SSH and GPG keys → New SSH Key and paste it there (example)
-
Confirm that your SSH key is connected to your GitHub account
ssh -T git@github.com- if successful, you should see:
Hi username! You've successfully authenticated, but GitHub does not provide shell access.
1.3 Create Initial Directory Structure
Preview
~/ocr/
│
├── dev_ws/
│   └── src/
│
├── ocr-docker/
│
├── training_ws/
│   └── src/
1. Create ocr folder and cd into it
mkdir ~/ocr && cd ~/ocr2. Create the dev_ws and src folder inside it (ROS packages will be installed in src later)
mkdir -p dev_ws/src3. Create training_ws folder and src folder inside it
mkdir -p training_ws/src4. Create ocr-docker folder
mkdir ocr-docker5. Verify that folders have been created inside ocr
lsdev_ws ocr-docker training_ws1.4 OCR Docker
Step 1: Install the container
-
Install and open Docker Desktop
-
Clone the repo and cd into it
cd ocr
git clone https://github.com/oc-robotics/ocr-docker.git
cd ocr-docker- Pull the base image from Docker Hub
docker pull mwoodward6/nekton:humble- Build the custom image
docker build -t ocr-docker:humble .Step 2: Install any ROS pacakges
- As an example, we will install differential_drive_robot in
src
cd ~/ocr/dev_ws/src- Clone the repository
git clone git@github.com:oc-robotics/differential_drive_robot.gitStep 3: Run the docker container
- Start the container in the background (detached mode)
docker-compose up -d- Optional: Open an interactive bash shell inside the container to run commands
docker exec -it ocr-humble-nekton-og bash- Browse http://localhost:6080/ to access the remote desktop via VNC

- Stop the container
exit # Exit the interactive shell
docker-compose stop- If you need to remove the container
docker-compose downTroubleshooting
- If you encounter an error due to port 6080 being in use, check which processes are using it
sudo lsof -i :6080- Sample output
COMMAND    PID USER   FD   TYPE DEVICE SIZE/OFF NODE NAME
docker-pr  995 root    4u  IPv4  27629      0t0  TCP *:6080 (LISTEN)
docker-pr 1001 root    4u  IPv6  26542      0t0  TCP *:6080 (LISTEN)
- Stop the processes
sudo kill -9 995 10011.5 Differential Drive Robot
- Open a terminal (run Terminator in NoVNC) and cd into
dev_ws/src
cd dev_ws/src- Build the package
colcon build --symlink-install- Source the setup
source install/setup.bash- Run the Gazebo simulation `
ros2 launch differential_drive_robot launch_sim.launch.py
- Visualize in
Rviz
rviz2 -d src/differential_drive_robot/config/diff-drive.rviz- Drive the Robot with Keyboard Input (open a new terminal inside Terminator and run the following command line)
ros2 run teleop_twist_keyboard teleop_twist_keyboard- Note: If using
ros2_controlplugin, /cmd_vel must be remapped as follows:
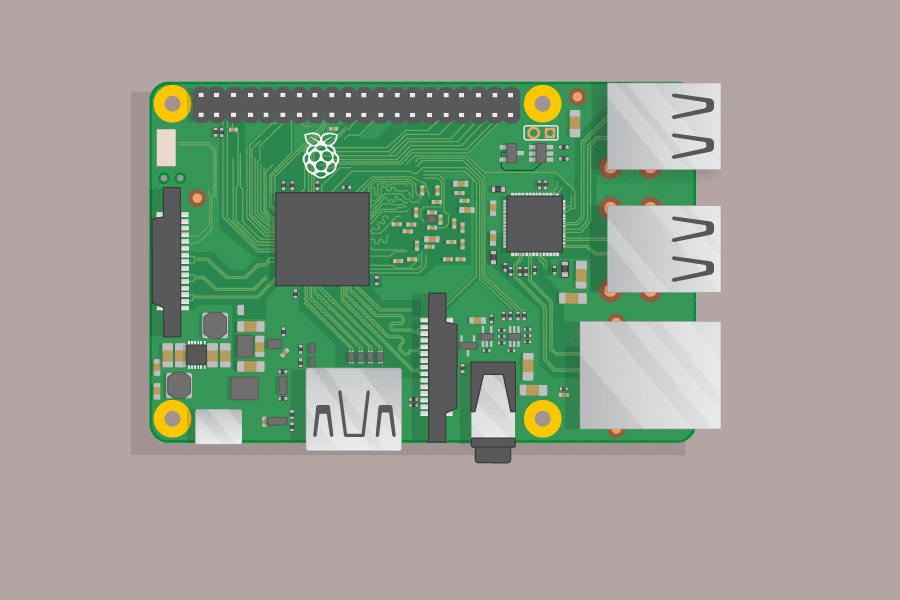
ros2 run teleop_twist_keyboard teleop_twist_keyboard --ros-args -r /cmd_vel:=/diff_cont/cmd_vel_unstamped1.6 Raspberry Pi Setup
This setup uses a Raspberry Pi 4. The OS must be configured by flashing the microSD card with Ubuntu 22.04 (see more) and installing ROS2 Humble.

Setup
-
Install Rapberry Pi Imager
-
Insert the microSD card and choose OS → other general purpose SO → Ubuntu Desktop 22.04 LTS (64-bit)
-
Set up Ubuntu desktop
-
Follow the instructions for installing ROS2 Humble on the Raspberry Pi
-
Todo: Set up SSH on the pi for remote connections
Connecting Peripherals to the Raspberry Pi

-
LCD Screen
- Display: Connect the micro-HDMI port on the Raspberry Pi to the HDMI port on the screen
- Power/touch screen: Use a micro-USB cable to connect the LCD screen to a USB port on the Raspberry Pi (not just for power, but also for data)
-
Raspberry Pi
-
Power: Connect the USB-C port on the Raspberry Pi to a power bank or wall outlet.
2. Electrical Setup
2.1 Software
- Install Arduino IDE
2.2 L293D Motor Driver
- Wire the circuit for the motor driver

- Upload the following
L293D_motor_driver.inosketch to the Arduino
// L293D Motor Driver pins for right motor (Motor A)
const int ENA = 11;    // PWM speed control for right motor
const int IN1 = 13;    // Direction control 1 for right motor
const int IN2 = 12;    // Direction control 2 for right motor

// L293D Motor Driver pins for left motor (Motor B)
const int ENB = 10;    // PWM speed control for left motor
const int IN3 = 8;     // Direction control 1 for left motor
const int IN4 = 9;     // Direction control 2 for left motor

const int switchPin = 7; // Switch to turn robot on/off

int motorSpeed = 0; // Starting motor speed

void setup() {
    pinMode(switchPin, INPUT_PULLUP);

    pinMode(IN1, OUTPUT);
    pinMode(IN2, OUTPUT);
    pinMode(ENA, OUTPUT);

    pinMode(IN3, OUTPUT);
    pinMode(IN4, OUTPUT);
    pinMode(ENB, OUTPUT);

    Serial.begin(9600);
    Serial.println("To infinity and beyond!");
    motorSpeed = 255;
    Serial.print("Motor Speed: ");
    Serial.println(motorSpeed);
}

void loop() {
    motorSpeed = 255;
    // if (digitalRead(switchPin) == LOW) { // Switch ON (pressed)
    if (digitalRead(switchPin) == HIGH) { // Switch OFF
        rightMotor(motorSpeed);
        leftMotor(motorSpeed);
    } else { // Switch OFF
        rightMotor(0);
        leftMotor(0);
    }
}

void rightMotor(int speed) {
    if (speed > 0) {
        digitalWrite(IN1, HIGH);
        digitalWrite(IN2, LOW);
    } else if (speed < 0) {
        digitalWrite(IN1, LOW);
        digitalWrite(IN2, HIGH);
    } else {
        digitalWrite(IN1, LOW);
        digitalWrite(IN2, LOW);
    }
    analogWrite(ENA, abs(speed));
}

void leftMotor(int speed) {
    if (speed > 0) {
        digitalWrite(IN3, HIGH);
        digitalWrite(IN4, LOW);
    } else if (speed < 0) {
        digitalWrite(IN3, LOW);
        digitalWrite(IN4, HIGH);
    } else {
        digitalWrite(IN3, LOW);
        digitalWrite(IN4, LOW);
    }
    analogWrite(ENB, abs(speed));
}